We show you how to add RAM to a laptop for improved performance using Corsair SODIMM DDR5 memory
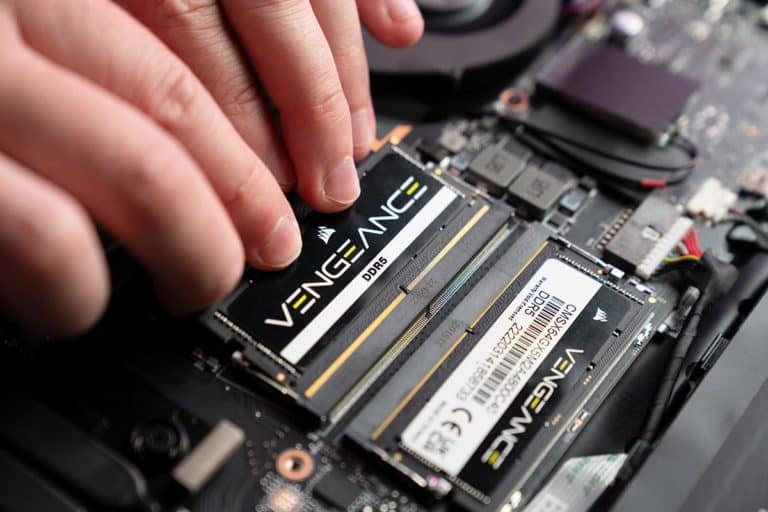
If you want to know how to upgrade RAM on laptop devices, but are worried about breaking your precious machine, don’t worry! We are here to make the process as easy as possible for you. Whilst it can be a bit fiddly, upgrading your laptop memory is pretty straightforward, and once you’ve done it once it’s a fairly easy process to repeat.
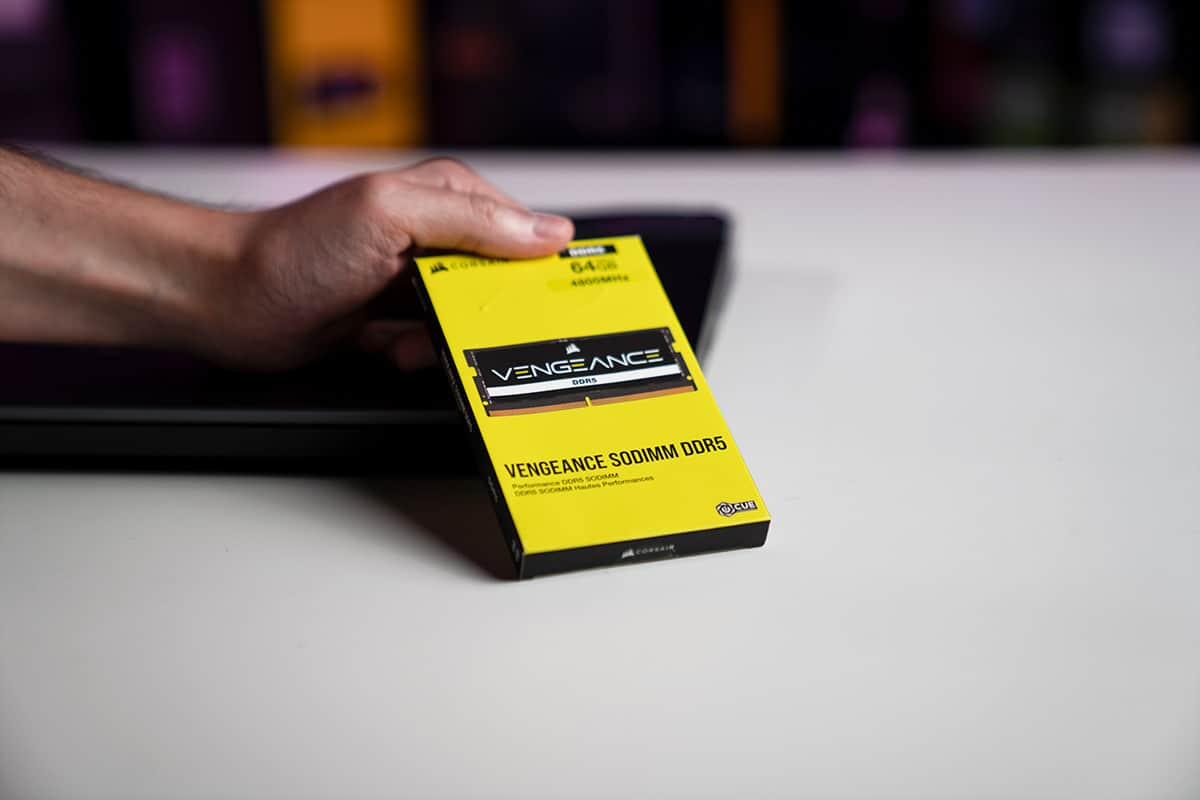
The kind chaps over at Corsair have sourced us with some lovely Vengeance SODIMM DDR5 memory which we will be using for this demonstration, but the steps of this guide are essentially the same no matter what generation of RAM you are using (including DDR4 memory or older ) or the brand.
Things to consider before upgrading laptop RAM
SODIMM vs DIMM memory
DIMM stands for Dual In-line Memory Module, and is the type of 64 bit memory used for desktop computers. stands for SODIMM Small outline Dual In-line Memory Module, and is the same type of RAM but thinner and smaller in size, and therefore better suited to laptops and notebooks. This is the type of RAM you will typically look for when upgrading your laptop.
Can you upgrade DDR4 to DDR5 memory?
You cannot upgrade DDR4 RAM to DDR5 RAM in a laptop as the pin layout is different on both the RAM itself and the socket on the motherboard at the point where you plug one into the other. This means upgrading from DDR4 to DDR5 without completely changing the motherboard is impossible, and whilst you can do this for a desktop gaming PC, upgrading the motherboard of your laptop is not something you can do.
Which laptops support DDR5 RAM?
At the present time, AMD Ryzen 6000 series laptops and Intel 12th gen laptops are the only ones that support DDR5 memory, although the upcoming Ryzen 7000 series laptops and Intel 13th gen laptops will also support the RAM tech.
Ryzen 6000 series laptop motherboards actually only support DDR5 RAM (so if you have one, you know it will be DDR5 compatible). Intel 12th gen (Alder Lake) laptops can support either DDR4 or DDR5 (though never both, as explained above), so you will have to check the specs of your particular laptop if it’s an Alder Lake machine to work out which memory generation it supports.
What is my RAM speed?
Our comprehensive RAM speed guide will tell you everything you need to know about understanding what it is and how it can affect your PC’s performance in greater depth. In a nutshell though, there are two numbers you need to be aware of: RAM frequency (measured in MHz eg 3200MHz) and CAS Latency (aka memory timings eg 14-15-15-39).
The effective speed of your RAM is worked out through a combination of the first two figures of the CAS latency, plus the RAM frequency, after you both plug them into the following equation.
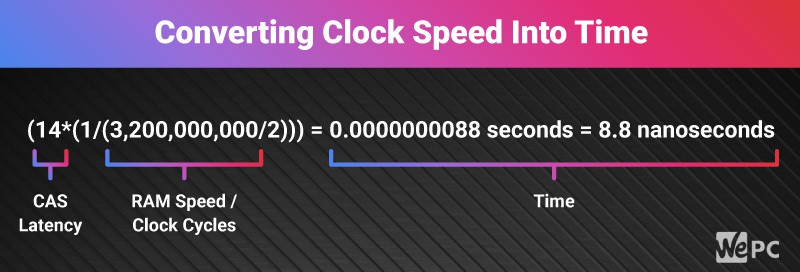
Thus, a higher RAM frequency and tighter timings (ie a smaller number on the CAS latency) mean faster RAM. Both of these can also be tweaked through RAM overclocking (depending on the make of your memory and the BIOS of your laptop) for further speed gains.
More RAM Or Faster RAM?
Faster RAM will improve performance somewhat in some games (particularly those where memory bottlenecking can occur), and can make a bigger impact on the performance of workstation/creative software, however for the majority of users the amount of RAM they have in their laptop will be much more important.
RAM speed is really only something high-end enthusiasts who already have the best GPU and CPU combination need to worry about, as they want to squeeze every last drop of performance out of their machines. For everyone else – it’s the amount of RAM that takes priority.
How much RAM do I need in my laptop?
16GB is the minimum amount of RAM we’d recommend for people buying a new laptop, unless they’re working with a really low budget. 8GB is sufficient for light web browsing, but open too many tabs or run too many programs at the same time and you’ll definitely notice a substantial slowdown.
16GB will work perfectly fine for most people, but if you’re running a machine with high core specs and what to reduce any possibility of memory bottlenecking, then 32GB will be more than enough. We’d recommend 32GB in particular if you’re planning on using your laptop for creative/workstation tasks outside of gaming, or just love to have lots of browser tabs open and/or programs running simultaneously. 64GB is only really recommended for very high-end creative laptops (powerful editing / animating machines and the like), and is pretty much overkill for 90% of users.
How to upgrade RAM on laptops
It’s a good idea to look up what the current memory specs are on your laptop before you begin the upgrading process, so as to better know whether you’ve successfully upgraded the RAM or not after the steps are complete.
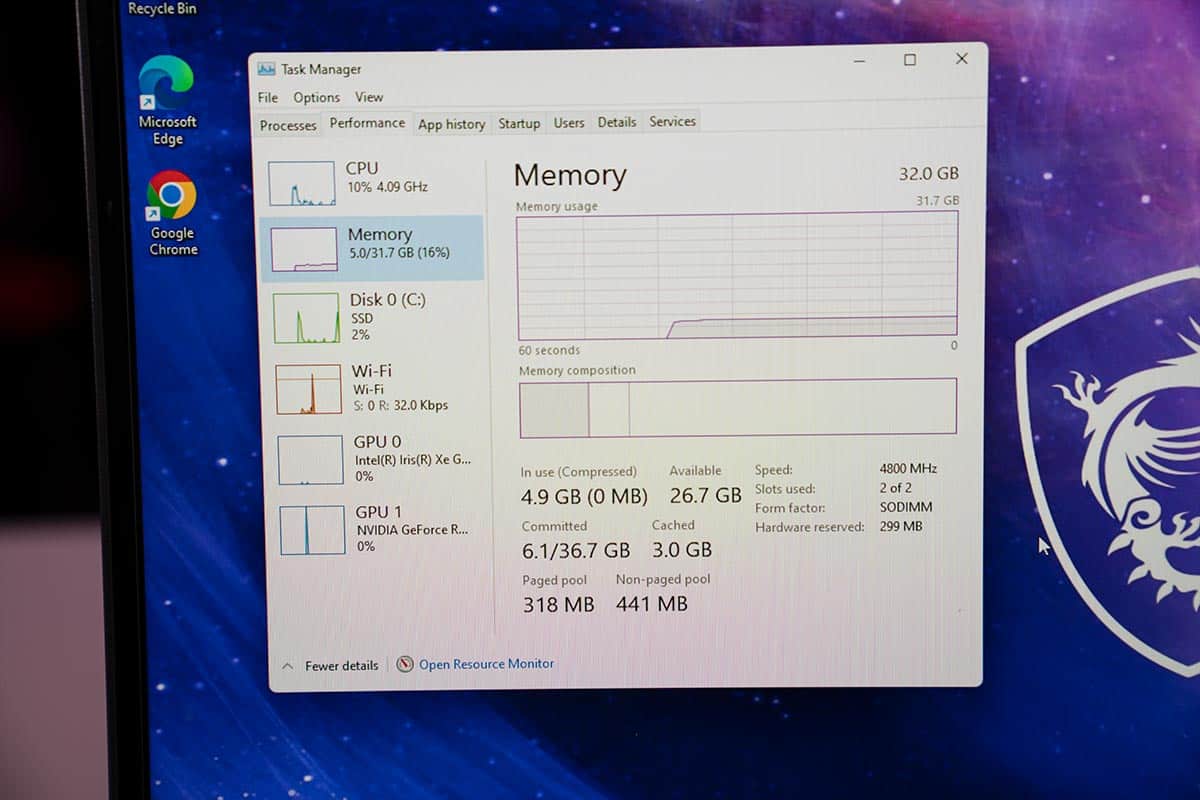
- The quickest way to do this is to press Ctrl + Alt + Del on your keyboard to open the Task Manager, then click the Performance tab, and then Memory. In this instance we have 31.7GB of RAM with a frequency of 4800 MHz.
- Alternatively you can check below System Information > System Summary and read the figure below Installed Physical Memory (RAM) for the amount
- Finally, looking at the Main screen of your laptop’s BIOSyou can usually scroll down/expand the information to see both the size of your installed RAM, and its speed.
Make sure the laptop is properly shut down and turn it so it’s facing down.
Identify the type and number of screws you are going to have to remove.
Note: on this laptop there was a screw hidden under the white Factory Seal sticker on the right. You may often find screws hidden under rubber foot pads or the like.
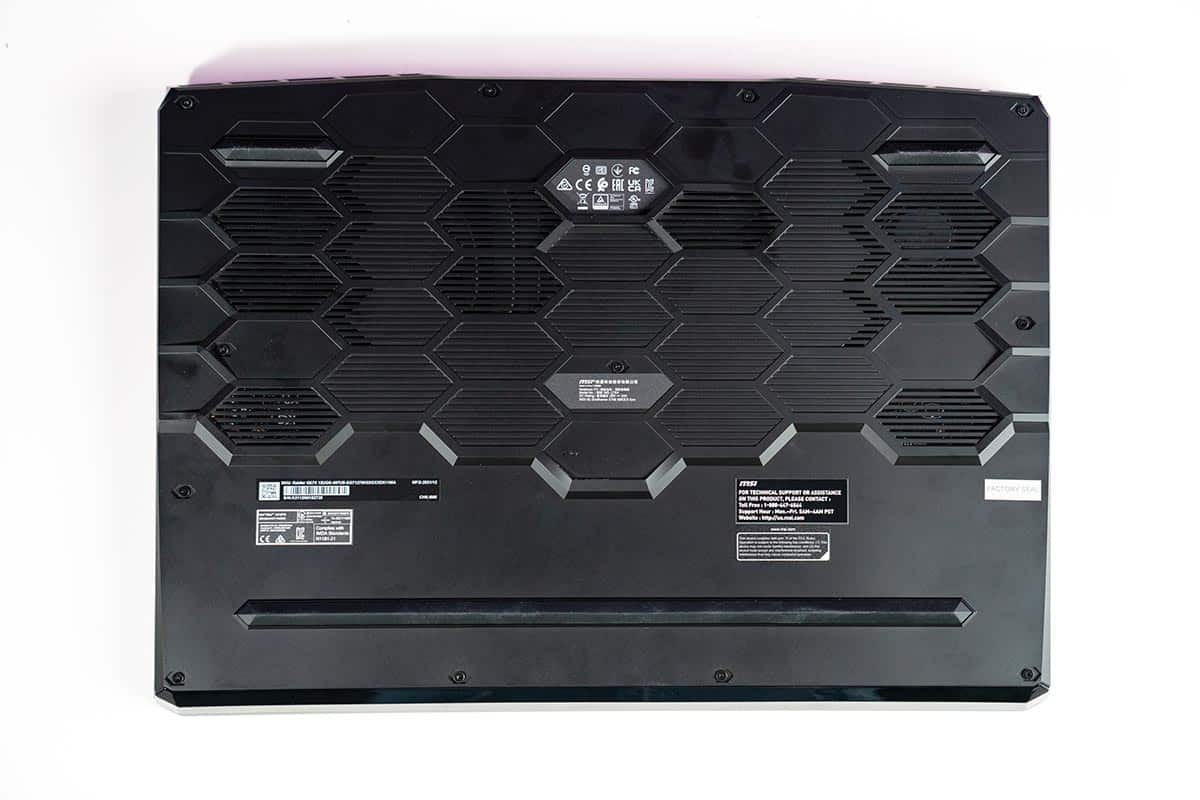
Most laptops are secured with Phillips Head screws (although some are secured with Torx screws or other types), but these can vary substantially in size.
Be sure you pick a screwdriver/header for your adjustable screwdriver which adequately matches or you may ruin the threads on the screws of your laptop.
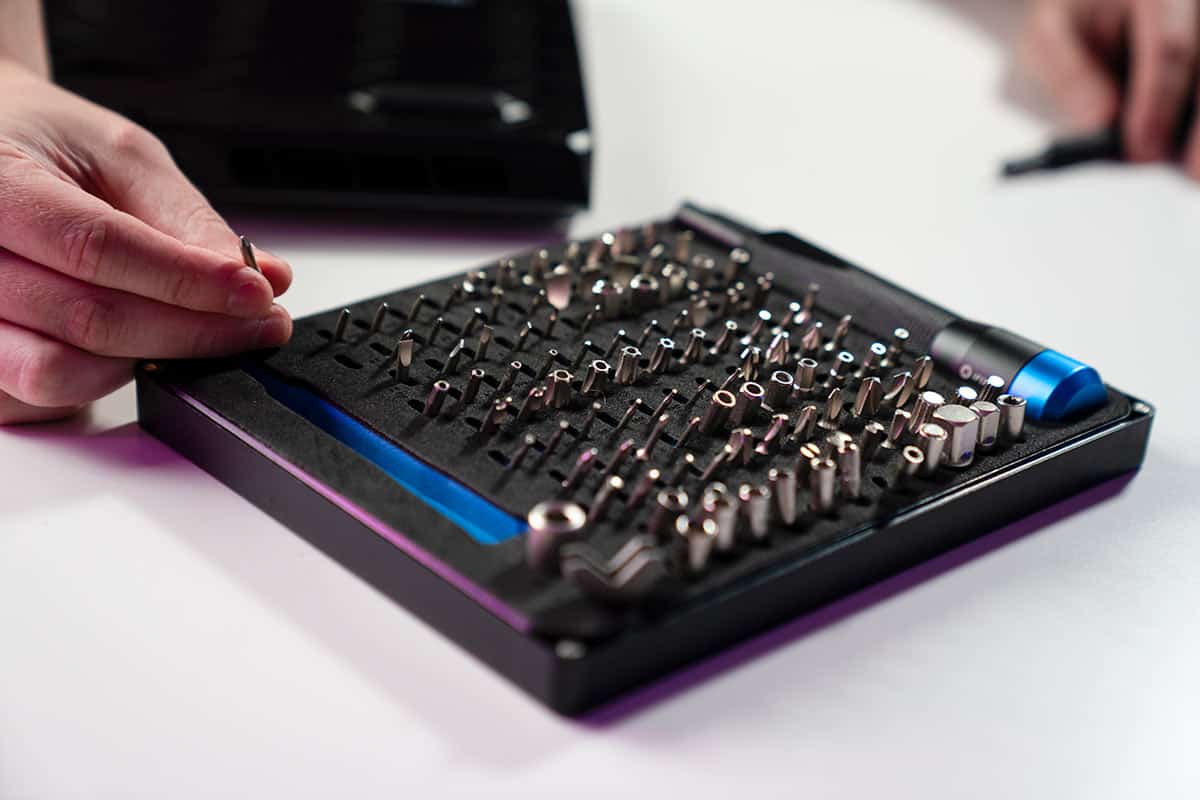
Get to work and remove all the screws on your laptop, taking care to keep them all collected together.
You may often find screws of different lengths. Make sure to note which holes these came out of as they will need to be put back there once you’re done.
It’s normal to have one or two screws that are a pain to remove for no apparent reason, we typically go back to these at the end!
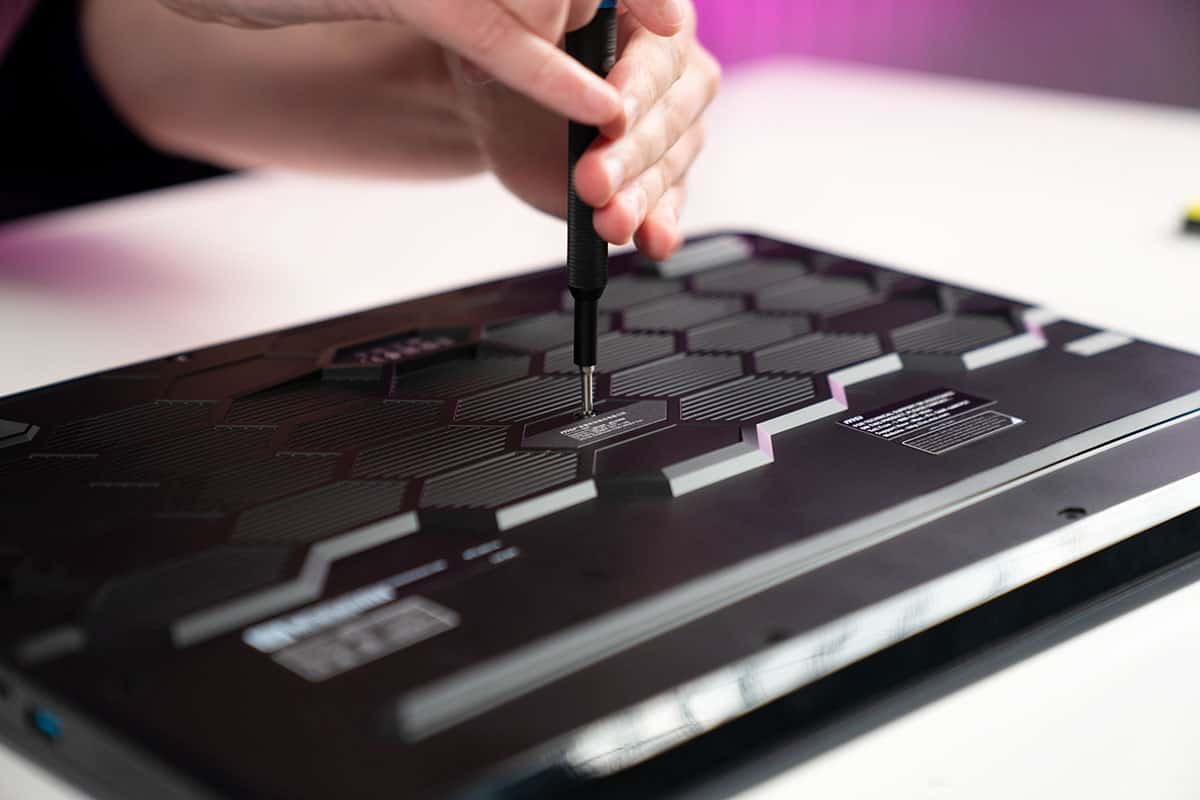
This is definitely the most difficult bit of the entire procedure, as finding the seam to pry apart your laptop can be tricky, not to mention actually doing it. You will have to overcome the clips/latches which hold the lid in place, but do so without breaking them.
You can use a prying tool for this or just your finger nails, and it’s common to get frustrated that it won’t open, only to find you’ve missed one hidden screw somewhere! (try to avoid this though as you could end up breaking your laptop cover if you’re not careful).
IMPORTANT: some laptops, usually those with an RGB strip at the front, may have connecting power ribbons between the back shell and the motherboard of the laptop. So be careful when removing the back – do not rip it off but ease it open and check inside before you fully remove it.
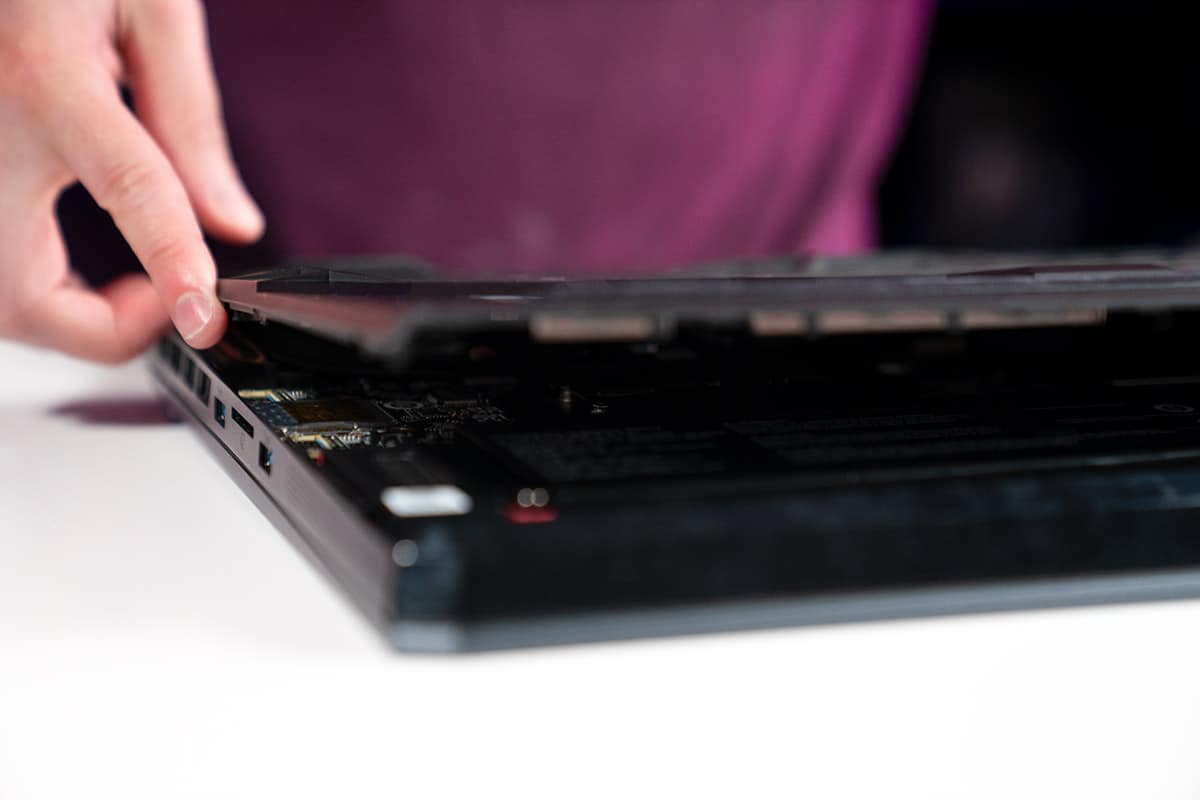
Typically RAM is located centrally or just off center on a laptop – above the battery but (usually) below the GPU & CPU which in this case are covered by cooling pipes.
Although it’s usually visible (perhaps obscured by protective labels which you can peel off) in this particular laptop the RAM is protected by a metal sheath (slightly to the right with a small arrow on the top).
Be careful you do not mistake the RAM for M.2 SSDs, which in this case are slightly to the left, covered by protective labels.
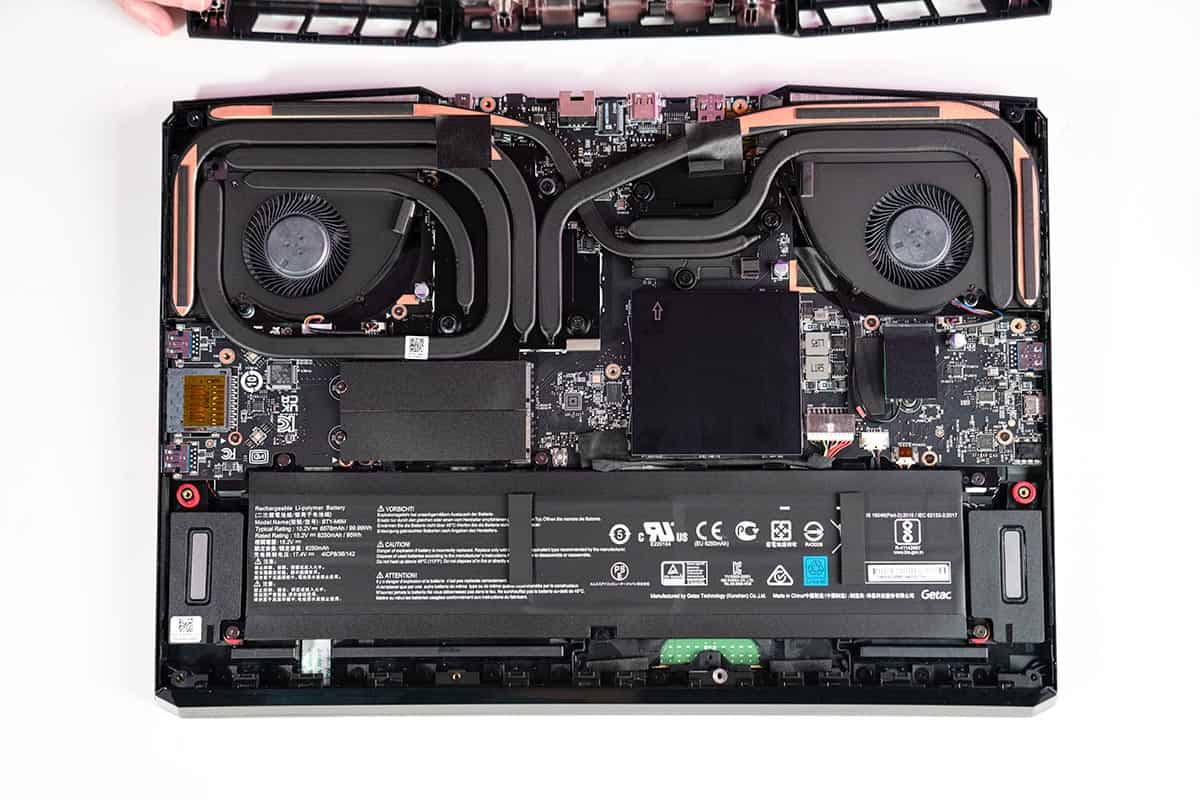
As mentioned, often the RAm will be covered by a protective peelable layer, that you can stick back on again after you’re done. Just take your time removing it to make sure it doesn’t tear.
In this instance we had to remove a somewhat fiddly metal casing. Not sure how to do it, we used a suction cup and prying tool (which looks like a pick) from our iFixIt toolkit. Once we worked the tool in between the small metal latches around the cover, the case popped off.
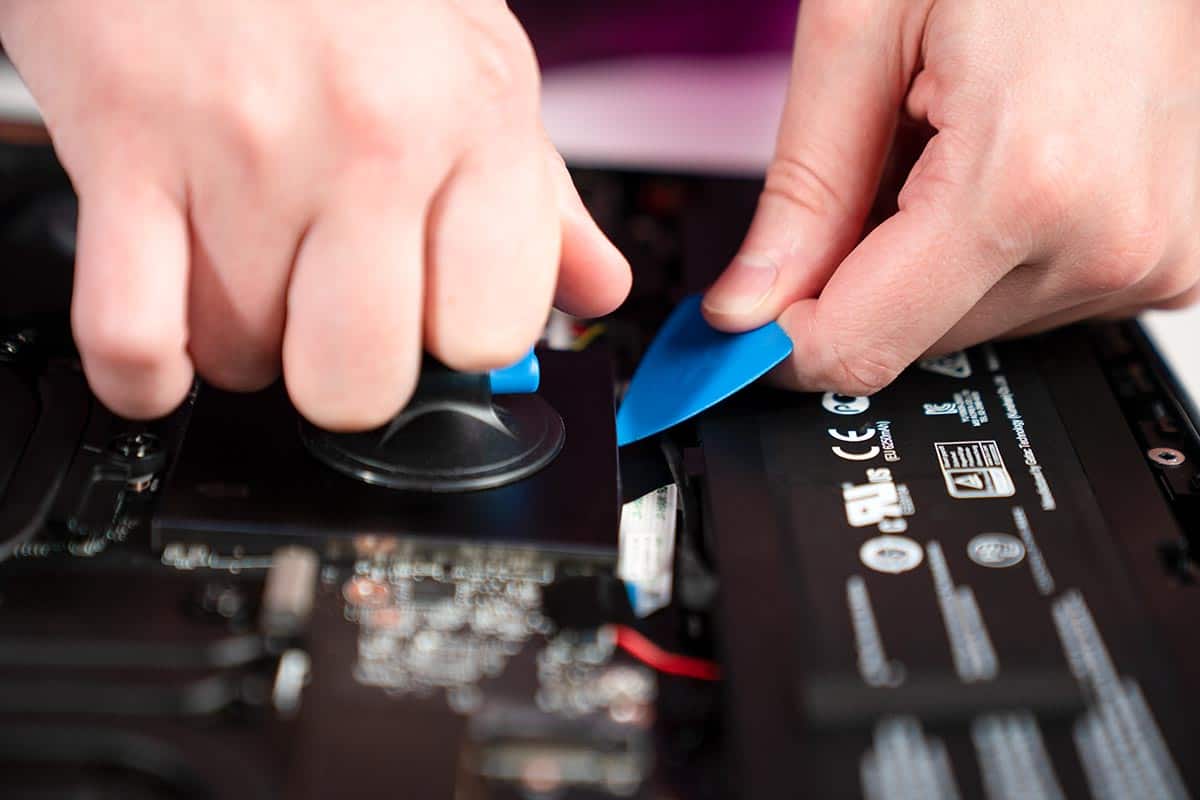
To remove the RAM, push apart the metal fasteners which hold it in place, and it should pop up at a roughly 30 degree angle.
You can then slide out the RAM from the socket.
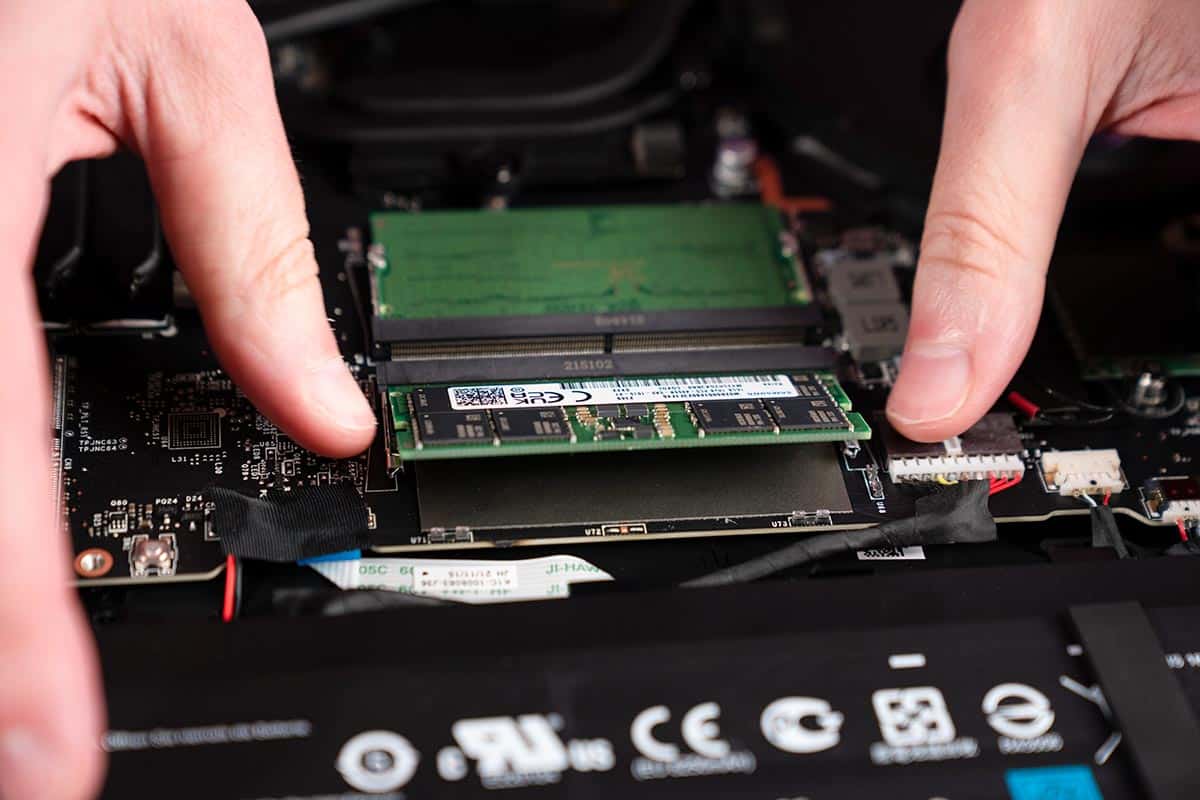
Take your replacement RAM out of its packaging.
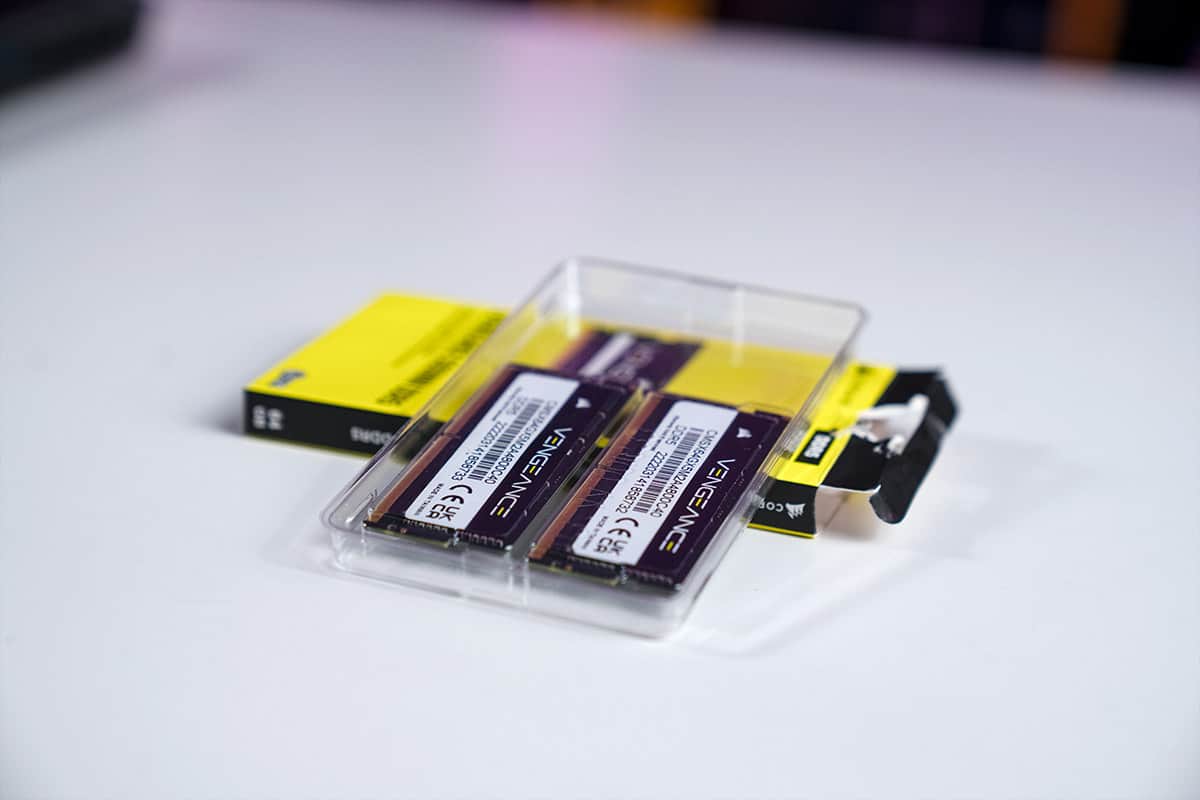
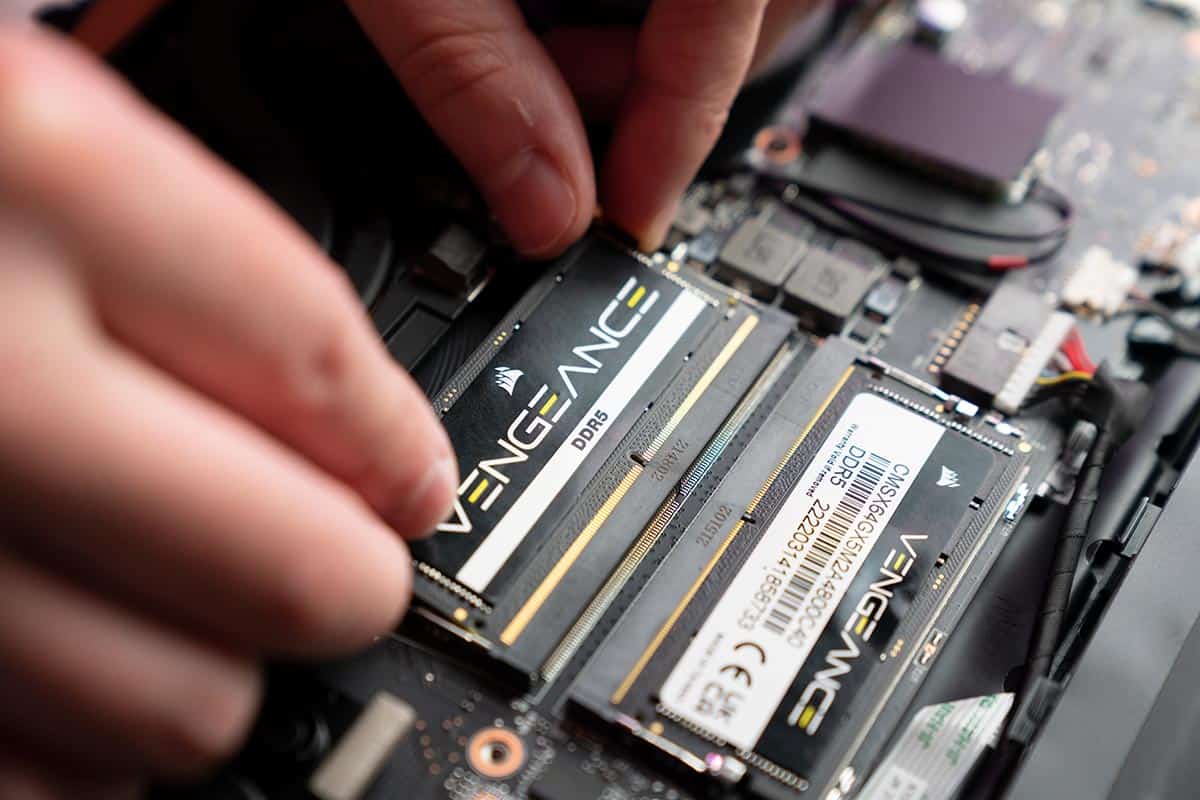
Slide the new RAM into the socket, making sure that the pins align correctly.
It may be (as in our case) that aligning the pins may require you to flip over one of your RAM sticks. This is normal.
Once you have slid the RAM stick in to the point where the pins are barely visible, you can apply downward pressure until the outer clips fix it in place.
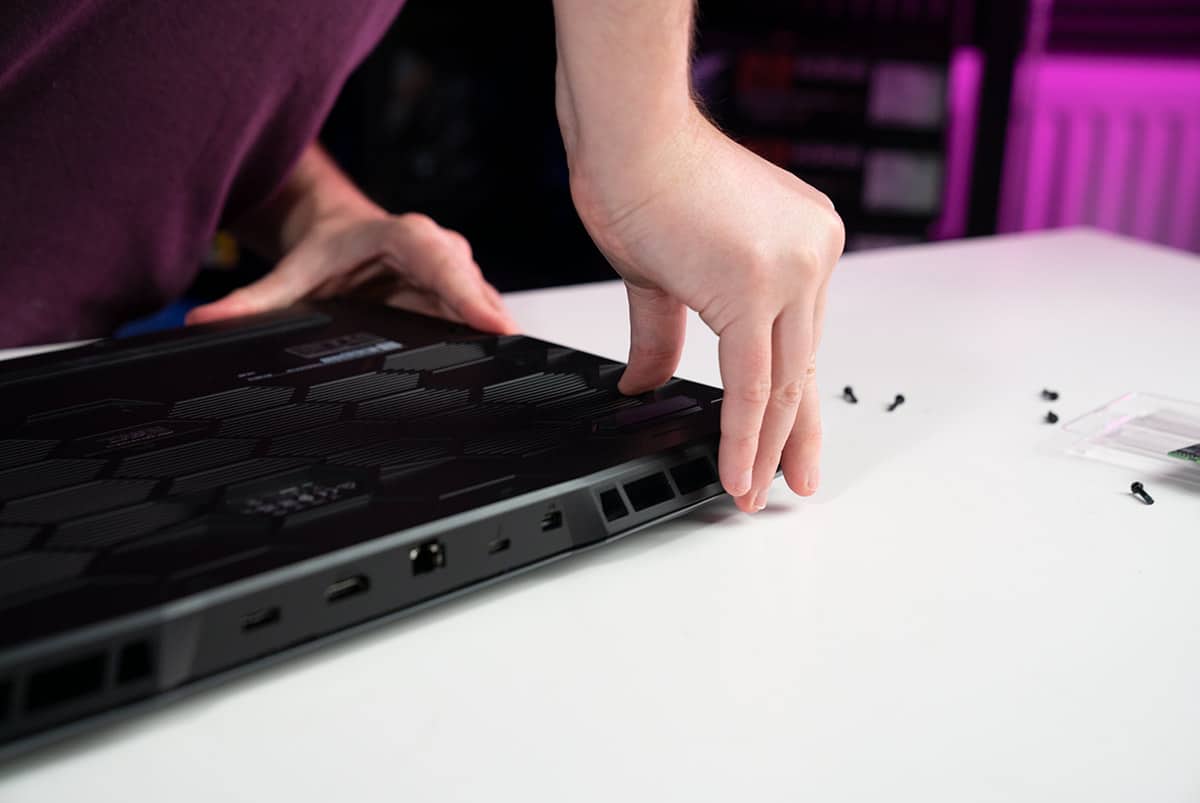
After applying any RAM covers you may have removed, replace the laptop casing once again, making sure to apply pressure all around the edge of it before screwing it back on, to ensure that it has fully clipped into place (usually satisfying clack noises).
Turn on your laptop and repeat what you did in Step 1.
You should now see new memory specs which correspond to your newly installed RAM.
If your laptop fails to turn on or there is some other issue, open up your laptop (assuming it is switched off) once more and make sure that everything is correctly in place before trying it again.
Final Word
This has been our How to upgrade RAM on laptop devices guide. If you’re looking for the best DDR5 RAM for desktop computers, check out our Best DDR5 RAM for gaming and workflows in 2022 guide (which includes several Corsair offerings). We do not yet have one of these for laptops, but will put one together soon for you. Also take a look at some of our myriad gaming laptop guides, including our best gaming laptop page.