The mistakeYour PC did not start correctly” pops up when you try to boot up your Windows device. Generally, this problem gets initiated when the Boot configuration data (BCD) are modified or damaged. The BCD guides the bootloader to get the boot information. So, when it’s malfunctioning, you might encounter this startup issue.
Sometimes, this generates a Windows restart loop, making it difficult to login into the device. Furthermore, this issue is also very common when external devices are connected and the system fails to handle it efficiently.
This startup error can be resolved by fixing the boot configurations and using different system file recovery tools. In today’s guide, we will take you through such fixes for this issue in great detail.
What Causes “Your PC Did Not Start Correctly” Error
This issue is primarily generated if there is some sort of corruption in the system files or the startup configurations. Some other reasons that can lead to this are
- HDD/SSD failure
- Issues during Windows Installations
- Power Failure
- Incompatible Windows updates
Fixes for “Your PC did not start correctly”
The major fix for this issue is to perform startup repair from the recovery environment. However, try restarting the system first before performing any of these fixes. The error may be because of some temporary glitches in the system that might get resolved with a restart. Also, unplug or remove any new component you have added to your computer and check if it has solved the issue.
If the issue persists, try these fixes to eliminate it.
Perform Startup Repair
The Startup repair option is the integrated application on the Windows operating system that can be accessed from the Advanced Boot menu. This application scans and fixes the issues that are causing trouble in performing a normal boot into the WIndows.
Here’s how you can perform the startup repair.
- In the error screen, click on the Advanced Options button

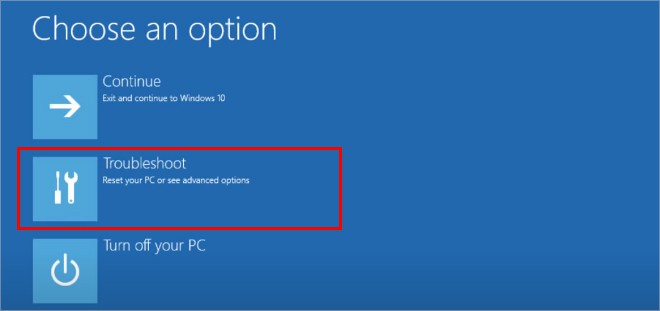
- Go to Troubleshoot
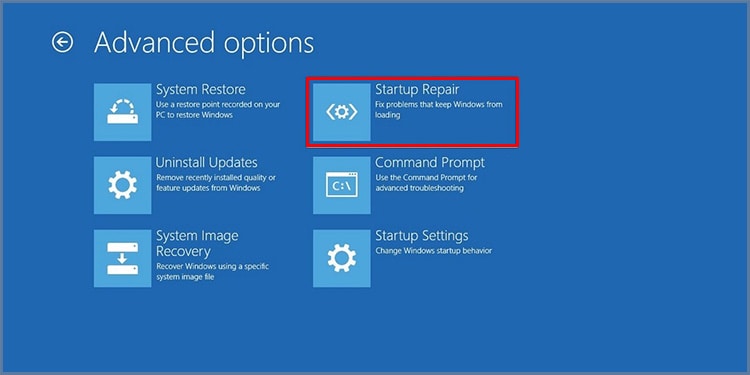
- Then go to Advanced Options > Startup Repair.
- Select the user account you want to fix (In case of multiple accounts).
- Windows will start to diagnose and fix the issues. This process can take up to an hour to complete.
- If the process repairs your computer, you can easily log back into the device. However, if the process fails, you will get a message prompting Startup repair could not repair your PC.
Boot From Safe Mode
Safe mode is the feature in Windows that allows the operating system to run with minimal features. It is a great tool for the users to identify the real cause of the issue. If there isn’t any error encountered by the user in the safe mode, it means that there is no issue with the default system configurations.
Here are the steps to enable the Safe mode.
- From the error screen, select Advanced options.
- Select Troubleshoot.

- Now, go to Advanced options > Startup Settings.
- Click on Restart button
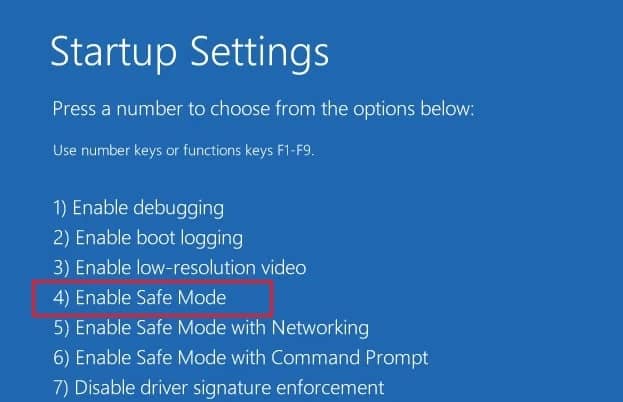
- You will now be booted to the Safe mode options. Press F4 to Enable the Safe mode.
- Finally, you will get logged into safe mode.
If you are able to boot into safe mode, it indicates that there is no issue with the hardware. The problem might be generated by the installed applications on the device or a change in some system configurations. If you suspect any of the applications for this issue, uninstall them.
To do it, follow these steps.
- Press Ctrl + I to Open up Settings.
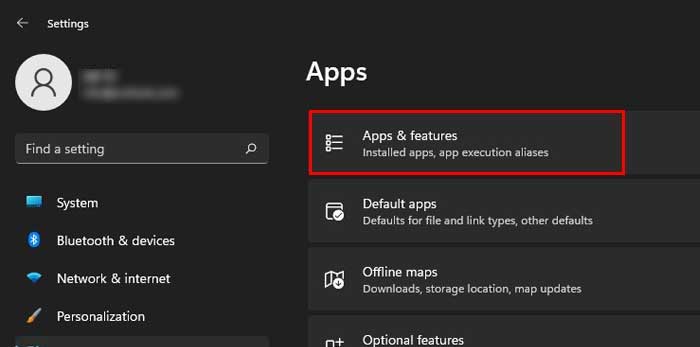
- Go to Apps > Apps and Features.
- Find the app you want to uninstall.
- Click on the three dots on the side of the app. Click on Uninstall and follow the prompt.

- Restart the Device and check if the error persists.
Perform DISM and SFC Scans
The system can go to the Automatic repair loop if some system files have been corrupted. To scan and fix these files, DISM and SFC scans can provide great help. Moreover, the DISM and SFC scans complement each other. Thus, they must be used one after another to achieve great results.
Here is how you can run these scans;
- From the error screen, go to Advanced options > Troubleshoot > Advanced options.
- Now, Select Command Prompt.
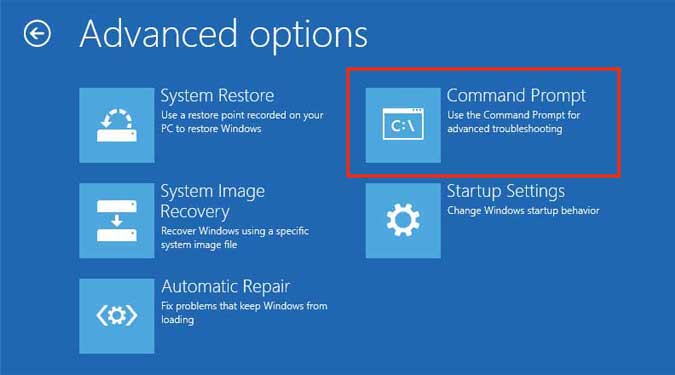
- Type and hit enter. This will help you determine the boot volume in your device.
bcdedit
- Now, enter this command line to run the DISM scans. Replace the drive letter with your boot volume in these commands (C: in this case).
DISM /image:C: /cleanup-image /restorehealth
- Wait for a few minutes until it scans and repairs the Windows images. After the process completes, run the SFC scan using this command.
SFC /scannow /offbootdir=C: /offwindir=C:windows
In addition, you can even use the CHKDSK C: /r to diagnose and repair disks.

Fix Boot Records
If there is an issue with the Master Boot Record (MBR) or the Boot Configuration Data (BCD), it might also generate this issue of an automatic repair loop. To fix this, there is the Bootrec command which is part of the Windows preinstall environment to perform the system recovery.
Follow these steps to run this to fix the boot records.
- Open the Command Prompt from the Advanced options.
- Now, type these commands and hit enter after each one.
Bootrec /FixMBRBootrec /FixBootBootrec /RebuildBcd
- Give confirmation by pressing A to add to the boot list.
- Finally, restart the computer to see if it solves the issue.
System Restore
Sometimes, the latest feature updates or modifications in the system configurations can crash the system. This can trouble you with booting up your Windows device. To fix this, you can use the System Restore feature to revert the system back to the working restore point.
Follow these steps to perform a system restore.
- In the Advanced recovery environment, choose Advanced options.
- go to Troubleshoot > Advanced Options > System Restore.
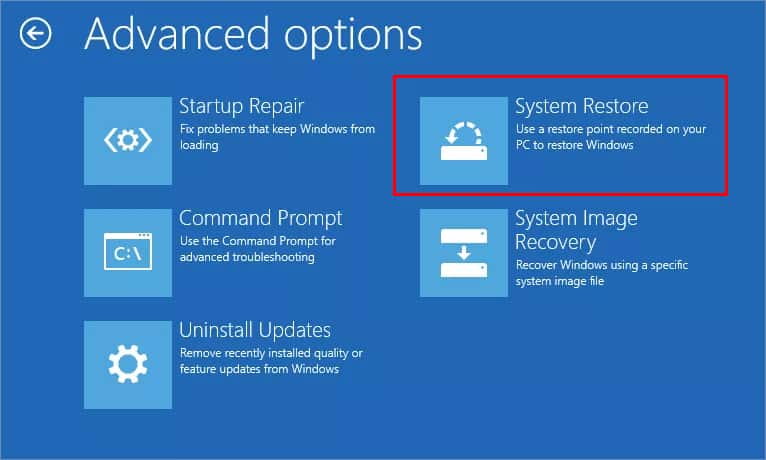
- Enter the Windows login credentials and click on Continue.
- Select the Restore point and click on Next.
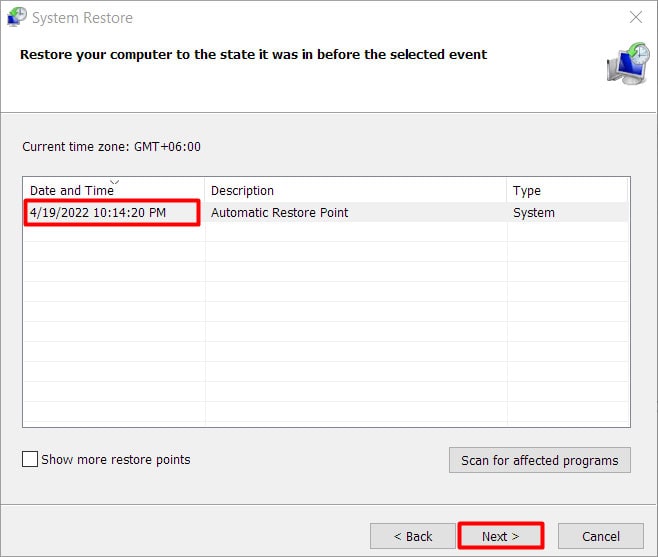
- Follow the instructions to complete the restore process.
Perform a System Reset or Reinstall
If none of the fixes are working, it is best to perform a system reset to get rid of this problem. You can easily perform a system reset from the recovery environment. Here’s how you do it.
- Go to Troubleshoot > Reset Your PC.
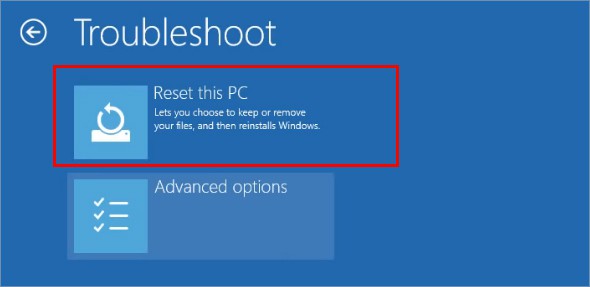
- You will now be given two options; Keep my files and Remove Everything. If your files are not backed up, go for Keep my files. While choose the other options, if you want to go for a clean reset which will also remove all of the files and reset system configurations to default.
- Choose Cloud download (recommended) to install the latest and stable updates for the system. You may choose the Local downloads to install the system files from the device.
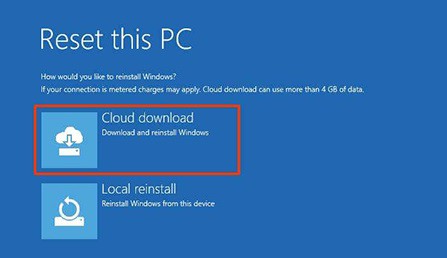
- Click on Reset to start the process.
If you are getting the error message after performing a system reset, it is best to reinstall Windows OS.